In a Chilean copper pit, I watched an excavator operator shut down just before a boom hose let go. The hose had a shiny abrasion mark, but nobody had written it up. That small mark became a pinhole spray carrying hot hydraulic oil, and the machine lost pressure halfway through a truck-loading cycle. This hydraulic hose inspection checklist is built around that lesson: find damage while it is still visible, record it, and remove the machine from service when the risk is beyond a visual check.
I spent 30 years around Caterpillar loaders, dozers, excavators, and haul trucks. Hoses rarely fail without warning. The warning might be a wet fitting, a stiff bend, a missing clamp, or a cover rubbed nearly smooth against steel. A rushed walkaround misses those details. A disciplined inspection catches them.
Start Safely Before You Touch a Hose
Park the machine on firm, level ground and lower every implement to the ground. Set the parking brake, stop the engine, and follow the machine's lockout and tagout procedure. Hydraulic pressure can remain trapped after shutdown, especially in circuits with accumulators or load-holding valves. Never use your hand to search for a leak. A sheet of cardboard or wood can help identify a spray, but a pinhole injection injury requires immediate emergency medical treatment, even when the wound looks minor.
Wear eye protection, gloves suitable for the work, and clothing that will not hang near moving parts. Give hot oil time to cool. If a hose is under tension, crushed, ballooned, or actively spraying, step back and call a qualified hydraulic technician. Do not loosen a fitting to “see if it has pressure.” That is not troubleshooting; it is gambling with skin, eyes, and blood vessels.
Field Lesson: On a Nevada dozer, a technician found a cracked hose during a lunchtime inspection. The machine had been working hard on a slope, and the line was still warm. He isolated the circuit and waited before removing it. That pause prevented a face full of oil.
Hydraulic Hose Inspection Checklist for a Walkaround
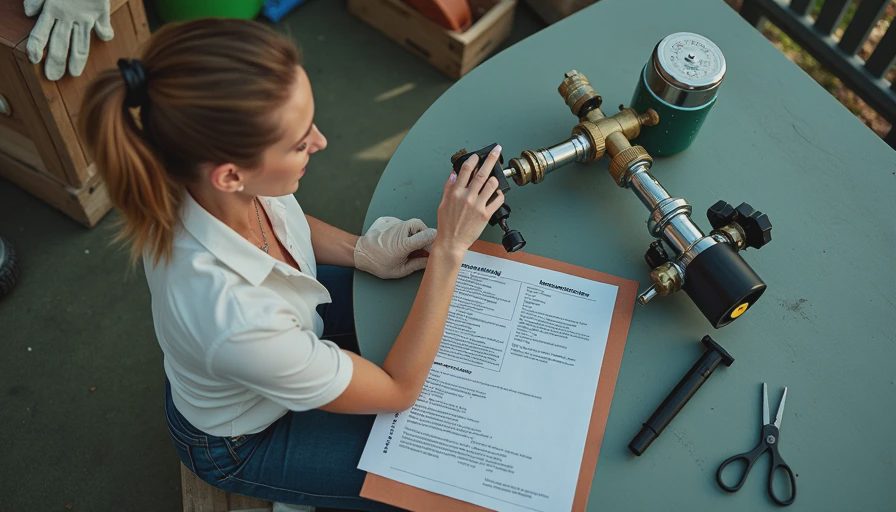
Use the hydraulic hose inspection checklist in the same order every time so fatigue does not decide what gets checked. Begin at the hose assembly and inspect the cover from end to end. Look for cuts, gouges, exposed reinforcement wire, blistering, cracking, soft spots, and sections polished smooth by contact with a bracket or frame. A hose that feels unusually stiff or brittle deserves attention even if the cover appears intact.
Inspect both fittings closely. Look for corrosion, damaged threads, a loose swivel, cracked crimp collars, and oil tracking from the connection. A damp fitting is not normal. Do not solve it by tightening blindly; overtightening can damage the seal or fitting and leave the actual problem in place. Check for twisting between the ends. A twisted hose can fail from internal stress long before its service life appears complete.
Follow the line through its full route. Inspect behind guards, beneath the boom, around articulation points, and near exhaust components. On articulated loaders, pay special attention to the center joint because steering movement can pull a hose against a sharp edge. On excavators, cycle the attachment only when the area is clear and the procedure allows it, then inspect the hose at every working position.
Find Heat, Abrasion, and Routing Problems
Heat damage often starts where a hose passes near a turbocharger, exhaust manifold, engine block, or hydraulic cooler. The outer cover may become hard, glossy, or cracked. A heat sleeve can help, but it does not excuse poor routing. The hose still needs proper clearance, and the sleeve must be in good condition.
Abrasion is just as common. A clamp may be missing, a cushion may have fallen out, or vibration may have moved the hose into a frame opening. Look for fresh metal dust, rubber crumbs, or a narrow polished line. Those are evidence of movement. Repositioning the hose and installing the correct clamp can prevent another failure, but a hose with exposed reinforcement should be replaced rather than patched.
Safety Alert: Never wrap tape around a damaged pressure hose and return the machine to production. Tape may hide the defect, but it cannot restore the pressure rating or contain a hydraulic injection hazard. Use the correct replacement assembly with matching inner diameter, length, pressure rating, temperature range, and end configuration.
Check Pressure, Movement, and Compatibility
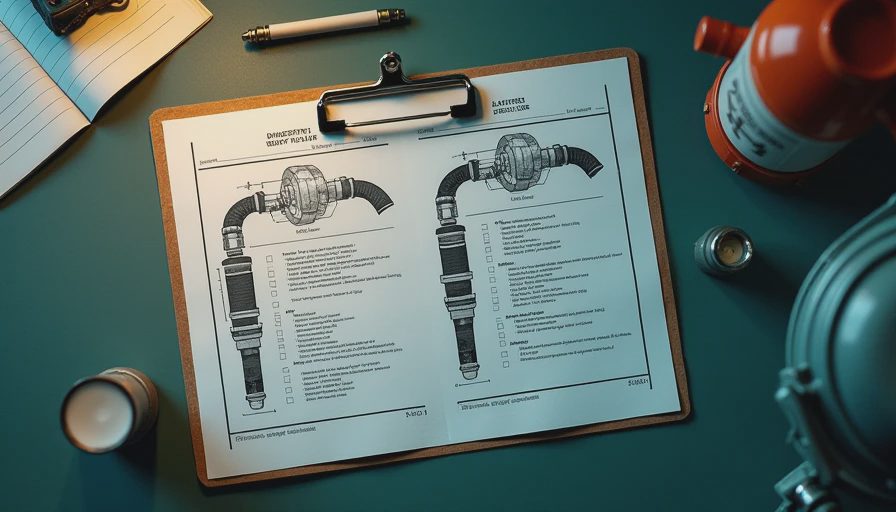
A proper hydraulic hose inspection checklist goes beyond looking at rubber. Compare the installed hose with the service manual and the original routing. A replacement that is two inches too short can pull on a fitting at full extension. One that is too long can form a loop that catches on a linkage. Neither condition is acceptable.
Check whether the hose is being bent tighter than its minimum bend radius. The bend should begin after the fitting, not directly against the crimp. Confirm that clamps support the line without crushing it. Separate hydraulic hoses from electrical wiring and fuel lines when routing permits. Prevent contact with sharp edges, rotating shafts, and moving cylinders throughout the entire stroke.
If a pressure test is required, use calibrated equipment rated for the system. A qualified technician should perform the test with barriers and a safe test position. Never stand beside a hose during a high-pressure test. Pressure can expose a weakness instantly, and a failed assembly can whip with enough force to kill.
Decide Whether the Machine Can Work
Remove a hose from service when you see exposed wire, a bulge, a cut into reinforcement, severe heat cracking, crushed geometry, a damaged crimp, or persistent leakage after the fitting is correctly addressed. Replace hoses showing repeated rubbing even if the damage is not yet deep. Failure prevention is cheaper than cleaning an oil-covered engine compartment, replacing a pump, or explaining an injury investigation.
Write the machine number, hose location, date, operating hours, defect, and replacement part information on the inspection record. A photo beside a ruler is useful for tracking a recurring rub point. If the same location fails twice, investigate the bracket, clamp position, vibration, and machine movement instead of simply installing another hose.
Build the Habit Around Production Reality
The best hydraulic hose inspection checklist is one operators can complete without guessing. Do a visual walkaround at the start of each shift, a closer inspection during planned maintenance, and an immediate check after a hose contacts rock, steel, or a hot surface. Shop foremen should review repeated defects during weekly planning and keep common hose sizes, caps, plugs, and clean replacement fittings available.
I have seen crews lose half a shift waiting for one hose that could have been identified during the previous evening's walkaround. I have also seen a five-minute inspection prevent a boom from dropping unexpectedly. The difference is consistency. Treat every wet fitting and every fresh abrasion as information, not background dirt.
When in doubt, stop the machine and call a real hydraulic shop or qualified field technician. I've seen this go wrong. Here's how you avoid it: inspect methodically, isolate pressure, replace compromised assemblies, and document what caused the damage so the next hose lasts longer.