I've seen more than a few ripper attachments come through the shop. Back in '09, I was on a job in the Pilbara where a contractor had bolted a cheap ripper onto a 320 and snapped the shank on the second pass through caliche. That failure cost them two days of downtime and a new shank assembly. The excavator ripper attachment is a simple tool, but if you pick the wrong one or run it wrong, it'll cost you time and money. Here's what I learned over thirty years of watching these things get abused.
Understanding Excavator Ripper Attachment Types
First, understand the types. There are three main configurations: the single-shank ripper, the multi-shank, and the parallelogram ripper. The single-shank is the most common for excavators. It's built for deep ripping in tough material—hardpan, caliche, frost. The multi-shank is for lighter work, like tearing up asphalt or loosening compacted gravel. The parallelogram ripper uses a linkage to keep the shank at a constant angle throughout the stroke, which gives you more consistent penetration. I've used all three, and each has its place.
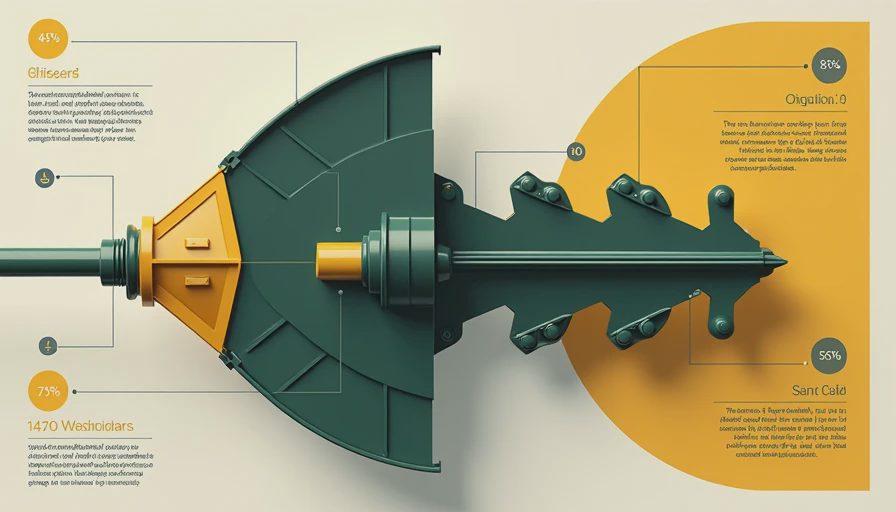
When you're choosing an excavator ripper attachment, the first thing to look at is the shank pocket and retention system. A loose shank will hammer itself apart. I've seen rippers where the pin was undersized and the whole shank walked out on the first pass. Look for a solid pin with a positive lock—either a bolt-on keeper or a split-pin design. Brands like H&H and Paladin have good retention systems. Also check the shank itself. The tip is what does the work. Carbide-tipped shanks last longer in abrasive soils, but they're more brittle. For most jobs, a standard alloy steel shank with a replaceable wear cap is the best trade-off.
The next thing is weight and geometry. A ripper that's too heavy for your machine will overload the boom and stick, causing hydraulic fade and premature wear on bushings. A rule of thumb: the ripper should weigh no more than 10-12% of the excavator's operating weight. For a 30-ton machine, that's about 6,000 to 7,200 pounds max. Geometry matters too. The shank angle should be between 45 and 60 degrees relative to the ground when the stick is vertical. Too steep, and you'll just scrape rather than penetrate. Too shallow, and the shank will want to climb out of the cut.
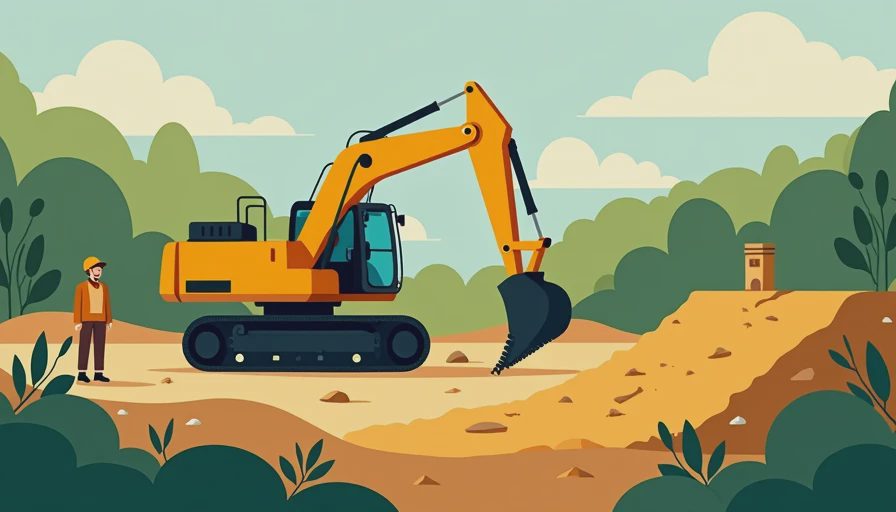
Safety Alert: Never raise the ripper high and then drop it to penetrate. That's a great way to break the shank, damage the hydraulic system, or even flip the machine. I've seen a 320's boom come down hard enough to crack the boom foot. The right way is to use the crowd action—curl the bucket cylinder to push the ripper down with controlled force. Let the weight of the machine do the work, not the hydraulics.
Field Lesson: On a job in Ghana, we had a brand new ripper on a 336. The operator was using the down-force function to hammer through laterite. After about an hour, the boom cylinder seal blew. The repair took a full day. Lesson learned: ripping is about patience and technique, not brute force. Set the shank at the right depth, walk the machine forward, and let the ripper do its job.
Maintenance is straightforward. Check the shank pin and bushings every 50 hours. Look for wear on the shank itself—if it's worn more than 10% of its original thickness, replace it. Keep the tip sharp. Dull tips increase breakout force and stress the attachment. Also inspect the ripper frame for cracks, especially around the weld joints where the shank pocket meets the main beam. A crack there can propagate fast and fail catastrophically.
If you're in the market for an excavator ripper attachment, don't buy the cheapest one. The materials and design differences are huge. A quality ripper from a known manufacturer will last through multiple machine rebuilds. Expect to pay between $2,500 and $8,000 for a single-shank ripper for a 20- to 40-ton excavator, depending on brand and features. That's a fraction of the cost of a hydraulic hammer, and for many jobs, a ripper is more effective.
Finally, remember that the excavator ripper attachment is a tool, not a cheat code. Use it correctly, maintain it, and it'll save you days of blasting or jackhammering. Use it wrong, and you'll be walking to the parts counter. I've seen this go wrong. Here's how you avoid it.
Frequently Asked Questions About Excavator Ripper Attachments
How do I know what size ripper to buy?
Start with your excavator's operating weight. The ripper should be 10-12% of that weight. For example, a 30-ton machine needs a ripper between 6,000 and 7,200 pounds. Match the shank pocket dimensions to your pin size. Most excavators use a standard pin diameter, but verify.
Can I use a ripper on a compact excavator?
Yes, but be careful. Compact excavators (under 6 tons) typically use a smaller ripper designed for their hydraulic flow. A mini ripper for a 3.5-ton machine costs around $1,000 to $2,000. Do not oversize—boom damage is common with compact machines if you push too hard.
Is a ripper better than a hydraulic hammer for rock breaking?
It depends. For layered or fractured rock, a ripper is faster and smoother. For massive rock or concrete, a hammer breaks it up better. Many operators keep both on their truck. A ripper saves fuel and reduces wear on the carrier compared to constant hammering.
How often should I replace the ripper tip?
Check the tip after every 50 hours of use in abrasive ground. If you see wear beyond 1/2 inch from the original shape, replace it. A worn tip increases breakout force by up to 30%, stressing the shank and carrier. Aftermarket carbide-tipped shanks can last three times longer in sandy conditions.