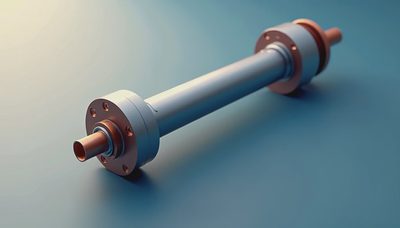
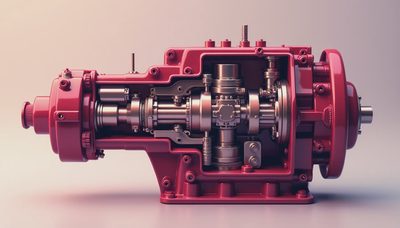
I learned this lesson on an old excavator in a copper job high in the Andes: a crew heard pump whine, lost boom speed, and decided to "freshen up" the unit in the dirt. By the time I got there, they had mixed parts, scarred the housing, and turned a repairable hydraulic pump into scrap. If you want to know **how to repair a hydraulic pump step by step**, start with one hard truth: cleanliness, measurement, and safety matter more than speed. I've seen this go wrong. Here's how you avoid it.
Start with diagnosis before you touch a wrench
Too many techs pull a pump before proving the pump is the problem. Low hydraulic performance can come from suction leaks, clogged filters, relief valves, aerated oil, or a weak drive coupling. Before teardown, verify the complaint. Check reservoir level, oil condition, filter restriction indicators, suction hose condition, case drain flow if the design allows it, and system pressure against spec.
A pump that whines at startup may be cavitating from a collapsed suction line. A machine that loses all functions hot may have worn internals, but it may also have oil bypassing elsewhere in the system. Use pressure gauges, a flow meter if you have one, and an infrared thermometer to compare temperatures across the circuit.
**Field Lesson:** On a wheel loader in Nevada, the pump got blamed twice. The real fault was a suction hose liner peeling loose internally.
**Safety Alert:** Hydraulic oil under pressure can penetrate skin. De-energize, lower implements, lock out the machine, and relieve pressure before cracking any line.
Remove the pump cleanly and mark everything
If diagnosis points to the pump, remove it like you plan to reuse every part. Wash the exterior first. Dirt on the housing becomes grinding compound once the unit is open. Cap and plug every hose and port immediately. Tag case drain, pressure, suction, and control lines so there is no guessing during reinstallation.
Drain the pump into a clean pan and inspect the oil. Fine metallic shimmer usually means internal wear. Larger flakes point to hard-part damage. Pull the drive coupling and inspect splines for twist, fretting, or offset wear. Misalignment kills rebuilt pumps faster than old age.
Move the pump to a clean bench and get the service manual for that exact model. Gear pumps, vane pumps, and piston pumps all come apart differently, and clearances are not something you eyeball.

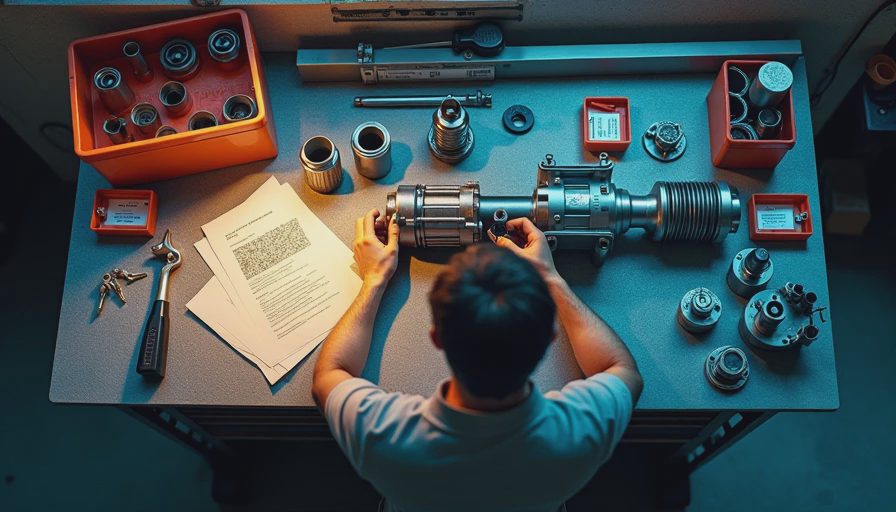
Lay parts out in order as they come off. Use paint marker orientation marks on housings and end covers. Bag small parts by section. A cheap tray system beats trying to remember where a thrust plate or shim came from six hours later.
Disassemble, inspect, and measure the right way
This is the heart of **how to repair a hydraulic pump step by step**. Tear the unit down slowly and inspect as you go. On a gear pump, look for scored side plates, worn bushings, chipped gear teeth, and housing washout. On a piston pump, inspect the cylinder block, pistons, slippers, swash plate, valve plate, bearings, and servo components. On vane pumps, check vane tip wear, rotor scoring, and cam ring damage.
Do not assume a seal kit fixes a worn pump. Seals stop external leaks. They do not restore internal volumetric efficiency. Measure end clearance, shaft runout, bushing clearance, bearing condition, and any wear limits listed in the manual. Use a micrometer, dial indicator, feeler gauges, and plastigage only where appropriate.
Look hard for the root cause. Contamination leaves scoring. Cavitation leaves a peppered, frosted look on metal surfaces. Overpressure can crack plates or pound bearings. If the housing or rotating group is beyond spec, stop and price a reman or replacement unit.
**Field Lesson:** Spent two weeks on a West Africa site chasing repeat failures. Every rebuilt pump looked fine until we found the tank breathers were pulling dust straight into the system.
Replace wear parts, correct the cause, and rebuild clean
Once you know the damage pattern, replace all worn parts that are out of tolerance, not just the obvious bad one. That usually means seals, O-rings, gaskets, bearings, bushings, and any scored wear plates or rotating members that fail inspection. If the shaft seal failed, inspect the shaft surface too. A grooved shaft will ruin a new seal in short order.
Clean all reusable parts with approved solvent and dry them with lint-free wipes and clean air. Keep shop rags away from precision surfaces. Pre-lube internal parts with clean hydraulic oil or assembly lube approved for the pump design. Install seals carefully so they do not roll or cut.
Reassemble in the exact sequence and torque values listed by the manual. Some piston pumps need timing or orientation between rotating groups and covers. Shim packs matter. End play matters. Guessing here is how a pump seizes on first start.
If contamination caused the failure, flushing the pump alone is useless. Clean the tank, replace filters, inspect coolers, and flush or replace hoses that can hold debris. One dirty line can wipe out your rebuild in minutes.
Reinstall, prime, and test before releasing the machine
Reinstallation is not just bolting it back on. Inspect the mounting pad, drive coupling, and alignment. Side load from a bad coupling will chew up bearings and seals. Fill the pump case if the design calls for prefill. Prime the suction side whenever possible. A dry start can score internals before oil reaches the rotating group.
Start the machine at low idle and keep personnel clear of moving implements. Watch for case drain flow, abnormal noise, and foaming in the reservoir. Bring temperature up gradually and verify standby pressure, main relief pressure, and function speeds against spec. Check for external leaks, then recheck mounting bolts and fittings after the first heat cycle.
If the pump still whines, runs hot, or shows poor output, stop. Do not keep revving it in hopes it will "seat in." Pumps do not heal themselves. Go back to the suction circuit, contamination control, and measurements.
When to repair and when to replace
Knowing **how to repair a hydraulic pump step by step** also means knowing when not to repair one. A simple gear pump with good hard parts often rebuilds well in a competent shop. A modern variable displacement piston pump with heavy rotating group damage, housing wear, or control contamination may be better handled by a dedicated hydraulic rebuilder with a test stand.
My rule from the field is simple: if you cannot measure it, keep it clean, and test it, do not pretend you repaired it. You swapped parts. There is a difference. For owner-operators and shop foremen, a quality reman pump can save serious downtime when the machine has to get back to work fast.
I've seen this go wrong. Here's how you avoid it: diagnose first, work surgically clean, measure everything, fix the root cause, and test the repair like your next shutdown depends on it. Because on heavy iron, it usually does.