I watched a loader go down in western Colorado because a tech treated a leaking pump seal like a five-dollar nuisance. He swapped the front seal in the dirt, drove it back to work, and two shifts later the pump was screaming, the coupling was wet, and the case drain told the truth. This **hydraulic pump seal replacement guide** is built from jobs like that. I've seen this go wrong. Here's how you avoid it. A seal leak is often the symptom, not the root failure, and if you miss that point, you're just installing the next breakdown.
Start With the Failure, Not the Seal Kit
Before you put a wrench on anything, decide whether the seal actually failed on its own. On gear pumps, piston pumps, and vane pumps, the front seal commonly starts leaking because of shaft wear, bearing play, blocked case drain, excessive housing pressure, coupling misalignment, or contaminated oil cutting the lip. If you ignore those causes, the new seal does not stand a chance.
**Safety Alert:** Hydraulic systems can hold pressure long after shutdown. Lock out the machine, lower attachments, bleed stored pressure according to the service manual, and keep your face and hands away from suspected pinhole leaks. Injection injuries are life-changing.
Look for evidence before disassembly. Check the pump shaft for side load, inspect the coupling spider, and pull a sample of the hydraulic oil if contamination is suspected. If the machine has been running hot or whining, write that down. A clean bench and ten minutes of inspection save hours of repeat labor.
**Field Lesson:** On a 336 excavator with around 9,000 hours, the seal wasn't the villain. The engine-to-pump coupling was out of line and beating the shaft. The third seal finally got everyone's attention.

Tools, Parts, and Prep That Matter in the Real World
A proper hydraulic pump seal replacement guide should say this plainly: half the job is preparation. You need the correct seal kit by pump model and serial break, not by guesswork. Many pumps have different shaft seal materials, wear sleeves, O-rings, backup rings, and housing gaskets depending on application and oil type.
Set yourself up with seal picks that won't gouge metal, a proper driver or seal installation sleeve, torque wrench, snap-ring pliers, lint-free wipes, assembly lube or clean hydraulic oil, and caps or plugs for every open line. Mark hose locations before removal. On machines that bury the pump under guards, coolers, or tanks, take photos. Pride has wasted more shop hours than bad tools.
Cleanliness is not optional in hydraulics. Wash the exterior before opening the system. Dirt that falls into the housing will circulate straight into close-clearance parts. If the pump came off a machine with a catastrophic failure upstream or downstream, do not just replace the seal and bolt it back on. Flush the system, inspect filters, and check the tank for debris.
If the shaft has a groove where the lip rides, plan for a wear sleeve or shaft repair. A new seal on a grooved shaft is a comeback ticket.
Removal Steps That Keep You Out of Trouble
Once the machine is safe and the area is clean, remove the pump carefully. Cap and plug the hoses immediately. Drain what you need to drain, but don't turn the floor into a skating rink. If the pump is flange-mounted to a drive, support its weight before loosening fasteners. Too many housings get cracked by letting the pump hang on one bolt.
On the bench, verify rotation and orientation, then strip only as far as needed for the seal job unless you already know the unit needs a full inspection. Remove the old seal without scratching the bore. That sounds obvious, but I've seen techs hook the aluminum housing like they were cleaning fish. One gouge can become a permanent leak path.
Inspect the shaft journal with your fingernail. If you can feel a groove, measure it. Check bearing feel by rotating and trying for radial movement. On piston pumps, confirm the case drain passage is open. Excess case pressure will push oil past a perfect seal every time.
**Field Lesson:** Spent two weeks on a hot iron ore site chasing repeat leaks on a hydraulic pump. The real problem was a kinked case drain line after a hose change. New seals failed in hours until we fixed the restriction.
Installing the New Seal the Right Way
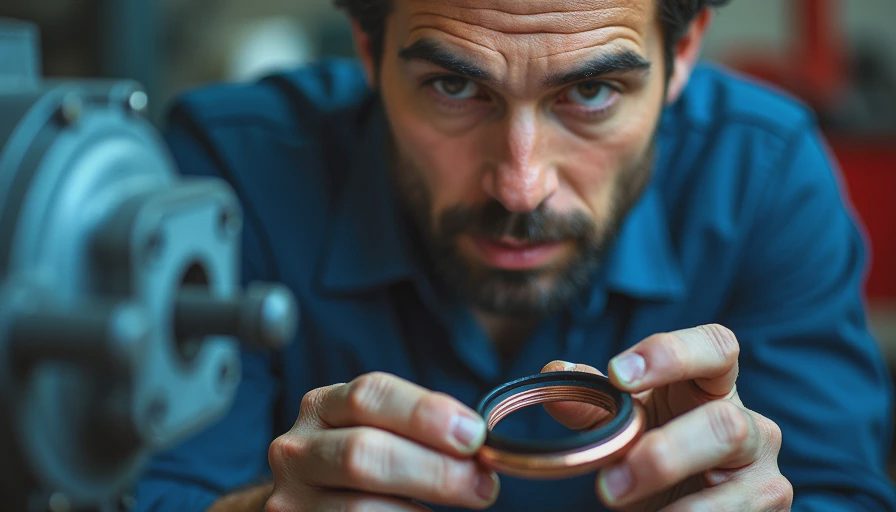
The heart of any hydraulic pump seal replacement guide is installation discipline. Lightly lubricate the shaft and the new seal lip with clean hydraulic oil unless the manufacturer specifies a different assembly lube. Never install a seal dry. If the shaft has splines, keyways, or sharp edges, use an installation sleeve or wrap the area with thin protective film so the lip is not cut on the way in.
Drive the seal squarely to the correct depth. Not crooked, not hammered on one side, and not buried deeper just because it "looks better." Some seals must sit flush; others have a specified depth to line up with the shaft surface. Follow the pump service information.
Replace O-rings, backup rings, and gaskets that were disturbed. Torque fasteners evenly. If the pump uses a wear sleeve, install it cleanly and verify it does not alter seal position beyond spec.
Before reinstalling, prime the pump if required for that design. A dry start can damage internal parts fast, especially on higher-value piston units. Reconnect lines exactly as marked, confirm case drain routing, and check coupling alignment if the pump is engine-driven.
Startup Checks and When to Stop Chasing a Simple Fix
After installation, fill the reservoir to proper level, crack the procedure in the service literature if bleeding is required, and start the machine at low idle. Do not rev it and hope. Watch for leaks, listen for noise, and feel for abnormal heat once circulation begins. A repaired pump should not immediately foam the tank, howl, or spike case drain.
This is where many seal jobs prove whether the diagnosis was honest. If oil still pushes past the new seal, stop. Check case drain pressure, shaft runout, bearing condition, and suction restrictions. A blocked suction side can cause cavitation and vibration that chews up seals and internals. Excessive shaft movement means the pump likely needs overhaul or replacement, not another kit.
**Safety Alert:** Never put fingers near a rotating coupling or use cardboard and rags close to a spinning shaft. Keep guards off only as long as needed for verification, then reinstall them before release.
I've seen this go wrong. Here's how you avoid it: treat the leak as a system clue, not a parts-counter errand. A solid hydraulic pump seal replacement guide ends with judgment. If the shaft is worn out, the bearings are loose, or contamination is in the oil, stop and send the pump to a real hydraulic shop. That's cheaper than losing a machine in the cut or on a grade because somebody wanted a quick win.